After purchasing a Mindspun hosting plan, you will receive a welcome email with a link to your new site.
The URL for your site will look something like:
https://wp-1234567890abcdef.mindspun.site/It’s important to set up the site immediately using the standard WordPress setup screen. Don’t worry about making a mistake; all of this information can be changed later in the administration dashboard.
Once you click ‘Install WordPress’ your site is ready to go.
Post-installation setup
There are several things you will likely want to do after setup. All are optional but give you a better site experience.
Custom domain
You’ll likely want to use a custom domain for your site instead of the default *.mindspun.site one. Once you have a custom domain, Mindspun will automatically generate an SSL certificate for you.
The first step – and the most complicated – is to point your domain to your site. Create a DNS CNAME record with your site domain. See your DNS providers’ documentation for how to do this.
Once you domain points to your site, go to the Hosting tab in your site and enter the value into the ‘Domain’ field.
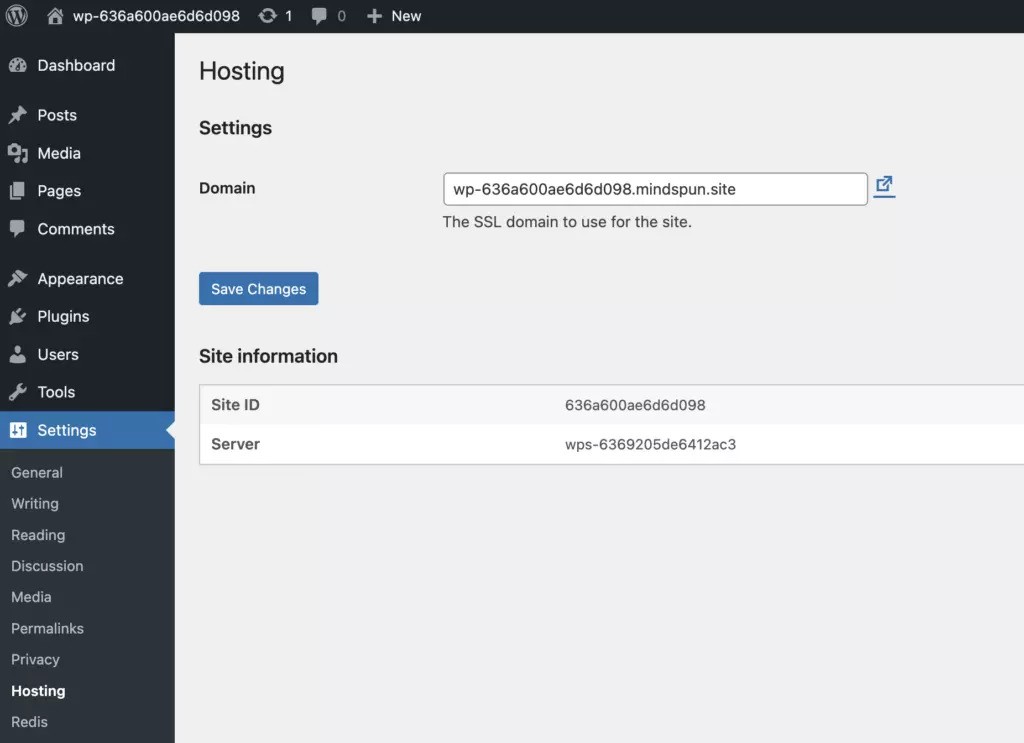
Click ‘Save Changes’ to finish setting up you domain.
It’s very important to test your configuration by clicking the icon to the right of the domain. That link will open your site in a new tab using HTTPS and the new domain. If you get an error, check your DNS configuration and try again.
If you are able to access your site with the new domain, then change your site url in Settings->General.
Your site is capable of sending emails directly, but for the best deliverability, it’s best to use an email plugin which connects through another service.
We use the free version of WP Mail SMTP connected to either Mailgun or just Gmail.
If you don’t do this, you run a higher risk of having you email notifications land in your user’s spam folder.